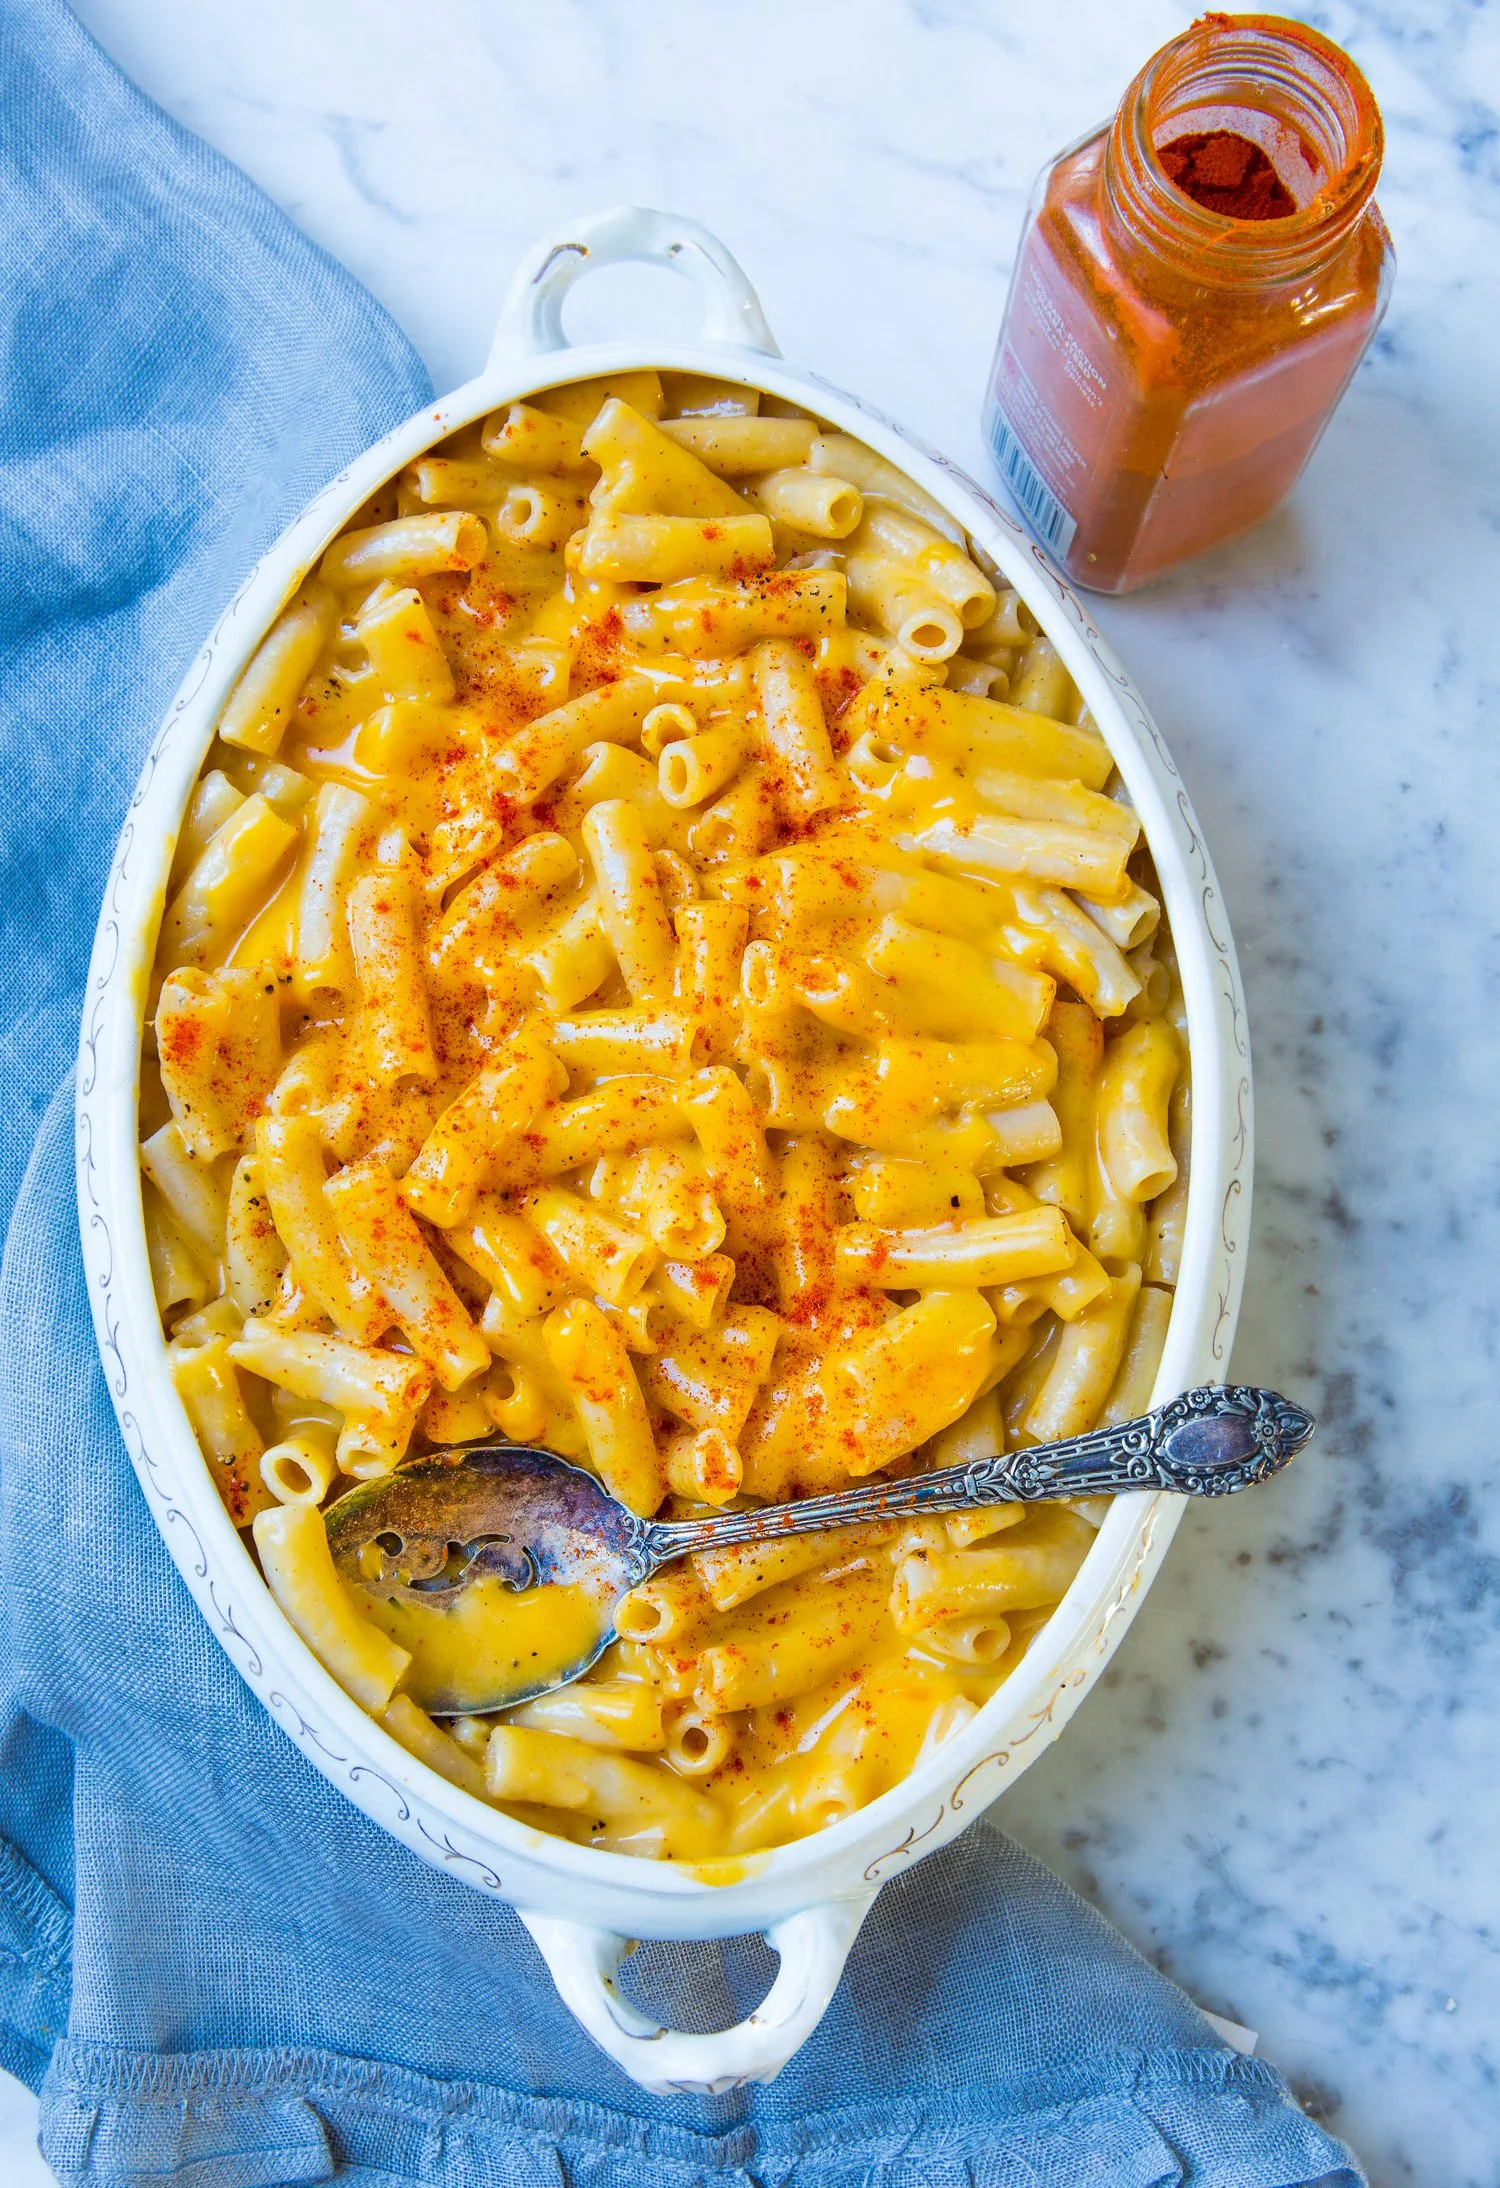
Worlds Best Gluten Free Mac & Cheese.

I moved this Mac and cheese over from bakingangell.com so that I could provide a print feature for the recipe. :) (Plus this website is just better all around.)

This recipe is EXTREMELY special. Growing up my husbands mother made this Mac and cheese on all special occasions. It was Rich’s favorite..and every holiday he would bring it up to me. His family is spread out in 3 different states so its not often we get to spend holidays with them.

So..I set out to re-make his mom’s Mac and cheese recipe Gluten Free. Over the years I tried different combinations of cheese, tested out different noodles and toppings and ultimately decided that this version was the very best. I didn’t share the recipe online until many years after perfecting it..as it felt really special and like one of those secrets I should hold close just for our family. This Mac and cheese has become my entire extended families favorite now too..we have it every Thanksgiving, Christmas and at every cookout or special holiday gathering. We have been now making it EVERY YEAR for at least 7 years.

It took me awhile..but I eventually felt ready to share the recipe on my website..and I’m glad I did as this recipe has quickly become a tradition in hundreds of new homes! Which is pretty special.

The instructions below will make a large batch perfect for serving a crowd! You can also divy it up and put some in a casserole to bake off..and some in smaller containers to freeze. The key is to freeze is after the cheese and noodles have been mixed BEFORE baking it. But..I promise if you bake the whole batch at once..it wont go to waste. Everyone always goes backs for seconds & wants to bring leftovers home!

Please leave a comment below if you have tried the recipe or if you try it this holiday season! <3

Worlds Best Gluten Free Mac & Cheese

Worlds Best Gluten Free Mac & Cheese
Yield: 18 Servings
Author: Brittany Angell
Prep time: 30 MinCook time: 30 MinTotal time: 1 Hour
This Mac & Cheese as indulgent as it gets! Once you try it you'll never make it another way. If you want to keep things simple the bacon & cornflake topping is optional- the recipe is good with or without it. If you are not a baked Mac & Cheese kind of person this recipe is amazing unbaked as well.

Ingredients

  • 3 Bags of Tinkyada Brown Rice Penne
  • 1 Package of Bacon
  • 12 Tbsp of Salted Butter
  • 1 ½ Large Onions Finely Chopped
  • 3 ½ Tsp. Salt
  • 2 Tsp. Cayenne Pepper
  • 1 ½ Tsp. Black Pepper
  • 8 Tbsp Sorghum Flour
  • 5 Tbsp Tapioca or Arrowroot Starch
  • 3 ½ - 3 3/4 Cups of Heavy Cream (If its super thick at the extra 1/4 cup)
  • 3 Cups of 2% Milk
  • 8 Cups Orange Shredded Sharp Cheddar Cheese
  • 2 Cups Shredded Pepperjack and or Jalapeno flavored cheese
  • 1 Cup Romano or Parmesan Cheese
Topping
  • 4 cups Corn Flakes Crushed
  • 3 Tbsp Melted Butter or Bacon Fat

Instructions

  1. Cook Noodles in large pot just until Al Dente. Rinse well with cold water and set aside.
  2. Put bacon in the oven in a pan and bake at 350 degrees for 20-30 minutes until perfectly crispy.
  3. Meanwhile Saute onions in the butter over medium heat until almost caramelized (this may take about 15 minutes) Add Spices the last 5 minutes. Note: Be sure not the turn the heat up too high or the butter may burn.
  4. Stir in the flour and starch to make a quick roux. Then Quickly begin to start whisking in the cream and milk. Stirring out all the flour lumps.
  5. Slowly add in all the shredded cheese a few cups at a time. Keeping the heat low and whisking nonstop until all the cheese has melted.
  6. Stir the noodles and cheese sauce together and pour into a large oven safe casserole dish.
  7. Remove excess oil from the cooked bacon, crumble it and sprinkle on top of the casserole (and or mix in).
  8. Crush the corn flakes and stir into them the 3 tbsp of melted butter or melted bacon fat (from the pan of bacon)
  9. Sprinkle the crumbs all over the casserole.
  10. At this point the mac and cheese can be covered and placed in the fridge for 1-2 days in advance or can be baked immediately.
  11. Before serving place is a 375 degree oven for 30 minutes to an hour or so (depending on if the mac and cheese was in the fridge overnight- if so it may need over and hour) Keep the mac and cheese covered in the oven with tinfoil or a lid until the last 15-20 minutes then remove so that the top can get crispy (but don’t keep it uncovered too long or it may burn)
  12. You know the casserole is done when the edges of the dish are bubbling and the top is golden and crispy.

Notes

The cheese sauce may taste a little salty at first- but once it is combined with the noodles and they soak up a lot of the flavor it will taste absolutely perfect! We ALWAYS make the mac and cheese the day before and stick it in the fridge and bake the day of. The noodles really soak up the flavor! If you are eating the dish the day you make it- use only 3 Tsp’s of salt.


Did you make this recipe?
Tag @bakingangell on instagram and hashtag it #bakingangell
Created using The Recipes Generator
Previous
Previous

Southern Buttermilk Fried Chicken (Gluten & Dairy Free)

Next
Next

Whole Roasted Crispy Buffalo Cauliflower