
Real Deal Gluten Free New York Style Pizza Crust


This pizza crust is special!!
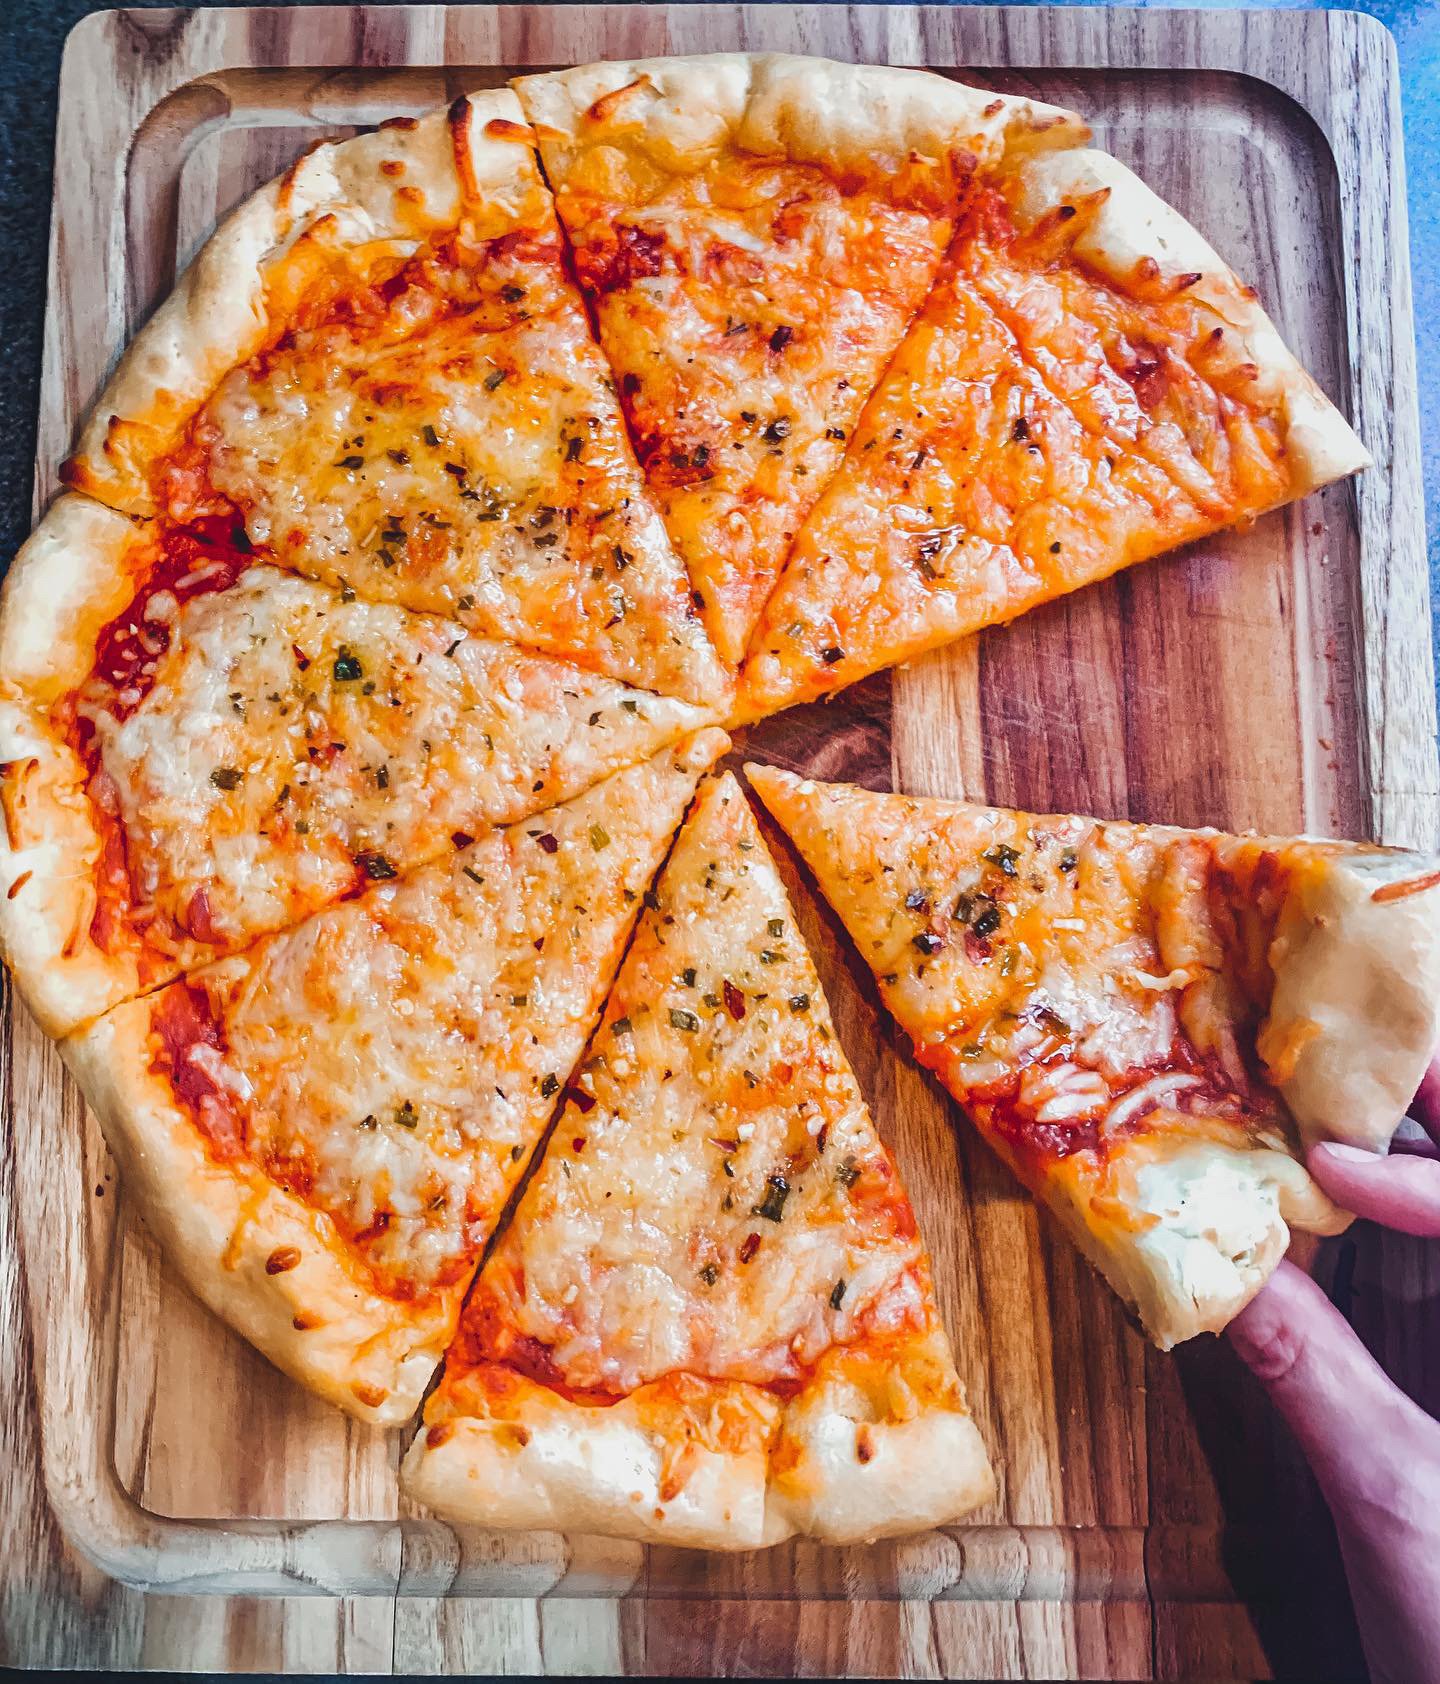
As a former new yorker (ok upstate ny..some people don’t think that counts haha). I know what this pizza is supposed to taste like! I’m on a mission to provide the best of the best pizza in the club- recipes far superior to what you can buy or find otherwise online. If you love a chewy bready crust on the edges with a thin, chewy slightly gooey bottom layer- this recipe is for you!! I say it all the time (because its one of the most important factors to me when creating something new) BUT- this crust does not taste gluten free. AT ALL. Its so soft and all around perfect and stays that way as it cools down. The recipe below is for a 12 inch pizza- but if you are wanting to make a HUGE 16-18 inch pizza see my notes below as I took the time to figure out the amounts you would need for various sizes.
I played around with par-baking the crust and found it was completely unnecessary and took away from the goo-ey texture that I personally can’t live without.
Making the pizza dough ahead :
This is totally possible- in fact I recommend it. It will give your dough a second change to proof slowly in the fridge which just adds nicely to the flavor and texture. This is optional though.
All you need to do is make your dough- spray a Tupperware container big enough with oil. Add the dough & seal it TIGHTLY (any air will cause the dough to dry out). Then stick it in the fridge for up to 3 days. When you are ready to make your pizza pull it out of the fridge and follow the directions on how to shape, proof and bake it.
Lets talk Dairy Free/ Vegan Cheese.
For this pizza I just used mozzarella because it gets too pricy to use dairy free every time I test. I never know which recipe variation will be THE ONE. If you have been around for any amount of time you know I tend to test my recipes many times over. I have been dairy free for about 2 years so I understand the frustration around mediocre or honestly terrible cheese options. (But there is ONE that I love)
Not all vegan cheese options are good for pizza. Some don’t melt, some just burn, some get a gross weird texture, some have a really odd flavor. For example.. I HATE Daiya, the flavor is horrendous (at least to me). Chao vegan cheese is great flavor wise and melts nicely but not under direct heat in the oven. Its terrible on pizza. A lot of vegan cheeses will melt nicely in a Mac & cheese scenario but the direct oven heat causes a very different reaction.
The only option I have been genuinely happy with for vegan pizza is Violife Vegan Mozzarella. A restaurant near us has a wood fired vegan pizza and they use violife and It comes out looking gorgeous (and tastes great) every time. Its possible there are other brands that work well- but I got tired of burning them in the oven. haha. Please let us know in the comments if you have had success with another brand specifically for pizza.
How to make this pizza vegan. Use violife cheese and opt for the flax egg option in the recipe.

How to make the pizza 14-18 inches.
Traditionally New York pizza slices are HUGE (think sabarro- their pizza is 17 inches). I opted to do a 12 inch crust as that is pretty standard for homemade pizza recipes . However- I do want to give you some ideas on how to go about making a BIG pizza! You can either increase the dough by 1/3 for a 14-16 inch ish pizza or increase the by a 1/2 to get a pizza as big as 16-18 inches. The other thing to keep in mind is that the thickness of the base of the crust is up to you. The baked thickness will about double (maybe not quite double- but just about). So therefore you can get away with pressing it out pretty darn thin.
While I have not yet tested out the following measurements - the beauty of gram measurements is that you can change the quantity of a recipe pretty easily. These quantities are what I would do if I was making the pizza larger. The results won’t be exactly the same as I needed to round up and down on a few ingredients- but it should be super close.
Here are the measurements I would follow to make larger crusts. You will follow the same steps when making it but will need to free form the shape on a bigger sheet of parchment (or two sheets of parchment next to one another layered. Make sure that your pizza stone is large enough to handle a bigger crust. You could also shape the crust in the shape of a square (not traditional for this style but it will taste the same.) As with the 12 inch pizza please make sure to liberally spray your parchment with oil to prevent sticking. OR if you would prefer a dryer kind of firm bottom crust you can LIBERALLY flour (using better batter) the parchment before pressing out the pizza onto it. This dough is very very sticky so make sure to really get the flour evenly dispersed across the parchment. I would still encourage you however to oil your hands and press it out that way on top. Too much flour will dry the top of the crust out and prevent it from rising as much as we want it it to.
14-16 inch pizza (the width will depend on how thick you make the dough.)
Baking time may need to increase - just keep an eye on your pizza and add 1-2 minutes at a time as needed.
245 grams Better Batter
68 grams superfine brown or white rice flour
95 grams Expandex
1 Large Egg + 1 Egg Yolk . (OR 2.5 Tbsp Water + 4 tsp ground flax)
237 grams of water
52 grams organic cane sugar
2 1/2 Tsp Yeast
39 grams oil
2 Tsp Salt
2 Tsp Double Acting Baking Powder
16-18 inch pizza (the width will depend on how thick you make the dough.)
Baking time may need to increase - just keep an eye on your pizza and add 1-2 minutes at a time as needed.
276 grams Better Batter
77 grams Superfine Brown or White Rice Flour
107 grams Expandex
270 grams water
3 Tsp Yeast
59 grams Organic Cane Sugar
1 Large Egg + 1 Egg Yolk (OR 3 Tbsp Water + 4 1/2 tsp Ground Flax)
44 grams Oil
2 1/4 Tsp Salt
2 1/4 Tsp Double Acting Baking Powder
I am not including measurements for the sauce or cheese as I think that’s one of those personal preference things. But I can give you a ballpark amount. For a 12 inch pizza I tend to use about 1/2 a cup of sauce & about 8 ounces of mozzarella. For the larger sizes these quantities would increase (but that’s common sense.)

Ingredients (Some of these are affiliate links that earn me a few cents if you shop using them! :)
Better Batter Gluten Free Orginal Blend
This flour blend continues to amaze me. It can do so many things better than most other blends that I have tried. As a result its extremely popular. Around the holidays it tends to sell out everywhere and so they are in the process of restocking right now. Usually its available on Amazon and at Walmart. Lately I have been ordering it from the Better Batter website directly. When they sell out- they tend to restock pretty quickly. Check back within a day or two if they are sold out when you look. I buy it in bulk now (20 lbs at a time) as I cant risk running out. I use it in too many recipes that we love.
What if you cant get your hands on it? This may be the case if you live outside the US. My friend Nichole from Gluten Free on a Shoestring has figured out a mock recipe for better batter. Her version should work great in this recipe! The owner (Naomi) of better batter has confirmed that the mix is similar to the official version.
Expandex
This bread is truly only possible because of the magic of expandex. It is a modified form of tapioca starch that was formulated to improve gluten free baking. The word Modified tends to worry people- so let me explain further. Essentially they studied tapioca and removed portions of it leaving only the parts that would allow for it to cause amazing elasticity (aka its name) in gluten free recipes. This flour allows me to get an incredible rise with everything I use it in. It traps the air bubbles in the dough just like regular flour with gluten does! Its honestly incredible. If you eat any processed or store bought foods you have eaten many forms of modified starch. Its nothing new- its just semi new to the home baker. Its non gmo and I typically get it from the brand Judee’s on amazon. Under no conditions can you sub it out for another regular starch.
Outside of the US there is a product called Ultratex 3 I have not worked with it but from what I understand its comparable! I would use that in the exact same quantity as the expandex amount that I call for.
Superfine Rice Flour (Brown or White) Do not make the assumption that a flour is superfine unless it is labeled as so. The grind of a flour makes a HUGE difference in how a recipe turns out and how much moisture is absorbed My favorite brand of superfine flour is and has always been from authentic foods. You can order that here: https://amzn.to/3r4zQA4 . While bobs red mill flours are better ground than they used to be- I still do not put them in the superfine category.
Yeast: Any brand will do. Just make sure that its fast acting or listed as instant.This is the brand I typically use.
Xanthan gum: I recently read somewhere that all brands of xanthan don’t work the same. I didn’t know this as I have always just purchased bobs. So- I would stick with bobs for this recipe and all of my recipes.
Oil- Any mild flavored oil will work great. Avocado oil. Vegetable oil or even olive oil.
Sugar- REAL Sugar is important. Its what feeds the yeast and makes this bread possible. I do not recommend swapping in a liquid sweetener as that could throw off the recipe. Please don’t use any keto sugars or even coconut palm sugar. It may not work as well.